@WyldanimalWouldn't make a bit of difference...
Casino's publish that and Does it help anyone to Win more?
It would make a big difference to me. I can calculate the odds and the expected value of winning. If I knew the probability of winning, I'd act accordingly. I'm willing to spend more for a special event card. If I knew the probability of winning one, I'd be able to make an intelligent decision about whether to play or not.
Casino's don't need to publish the probabilities for most games. They can be calculated from the nature of the game. Since most casino games have an expected value of less than 1, I don't play. Since poker is based on skills I'm weak at, I don't play.
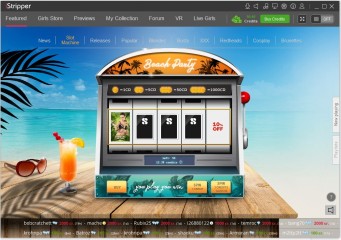
Let me give you an example for an iStripper game. Let's say it is the scratch game with a cost of 10 credits per play. Let's say that there is special event card that I would pay 40 credits to get. Now if the probability of winning that card is 25% then the expected value to me is 10 credits and I'll play. If the probability is 10%, the expected value to me would be 4 credits and I wouldn't play. Now if I felt the value of the card was 100 credits, that would change my decision. In any case I'll make a reasonable decision knowing that there is still a chance of loosing.
Without knowing the probability, I'm playing blind. Based on my past experience I will only play these games if the value of the special event card to me is greater than 160 credits. There are very few special event cards I would value that highly.
is it set to Win early in the month, middle of the month, end of the month?
If that's the case, the casino is cheating in most legal jurisdictions. In most places the chance of winning must be the same every time you play.